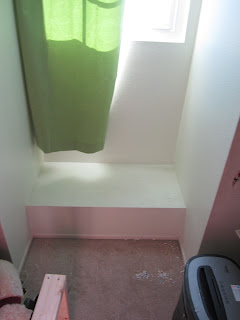
Measuring for the base in Window Seat #1
Current Window Seat #2 storage... not very organized and looks very messy!
Building the frame out of 2x4s. 2x4s are nailed together and nailed into the wall studs. I also used an extra metal support to attach the front center piece.
I cut a piece of plywood to fit the front, lining up with the wall below (I'm replacing the baseboards, that's why they're missing!)
View from the top -- you can see the metal brace from in here.
I added a piece of wood in the back to attach the hinge to.
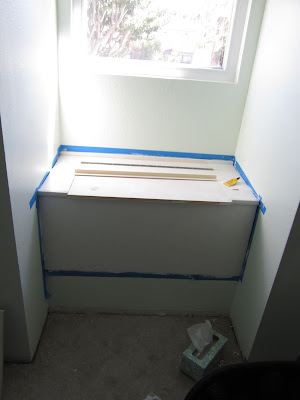
I cut two pieces for the sides that were also nailed in. Then, for the lift up door piece, I used a piece of 1x10 that was cut to size. It slightly overlaps the edge of the box for a lip to open the box and stay closed. This picture shows the box after I used nail filler and primed.
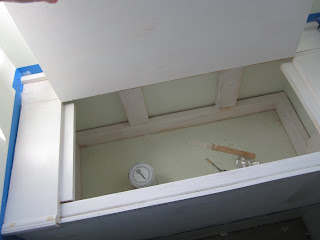
The inside of the box, with the supports.
Adding trim pieces.
Window Seat #1 and #2, all done! The baseboard still needs to be nailed in, and I hemmed the curtains to match the new height. It looks so much cleaner with all our extra pillows and blankets tucked away!


No comments:
Post a Comment